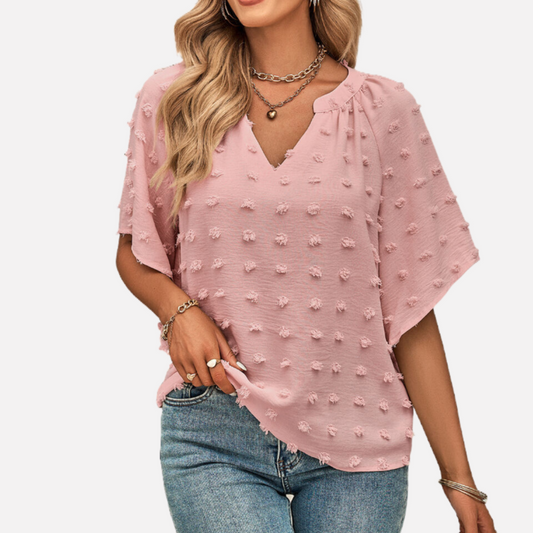
Clothing, like art, begins with a perfect canvas - in this case, it's the fitted shirt that fits like a second skin. 💖 Whether you're stepping into the world of custom tailoring for the first time or hoping to buy well-fitting shirts online, it's crucial to master how to take accurate shirt measurements. This will take your closet from ordinary to amazing, avoiding all sorts of returns as well as hassles due to bad fitting. In this detailed guide, I'll take you step by step through the entire process of taking shirt measurements so you can have the perfect fitting option!
I. The Importance of Accurate Measurements
Shirt Fit Determines Style
When it comes to shirt fit, it really is crucial. The right shirt not only enhances your overall look, it is the cornerstone of an elegant appearance. 🧵 Whether you're looking for custom-made shirts made to order for special occasions or thinking of updating your closet, accurate measurements ensure that the outfit you choose perfectly complements your figure and shows off the style and fit you want.
For example, I'm a particular fan of a well-fitted shirt that not only makes me look refreshed, but also gives me confidence for different occasions. Imagine walking into a conference room in that perfectly fitted shirt and having all eyes around you, it's a great feeling!
Considerations for different body types
In my experience, accurate measurements are even more important for women seeking larger or petite sizes. Keeping proper measurements will be essential if you want the pieces you choose or customize to be both beautiful and comfortable. For every body type, there are possibilities for measuring. I have heard many of my friends say that when they find the right size, their whole attitude improves.
II. The Basic Tools Needed for Measurement
Essential Measuring Tools
Before you start measuring, make sure you have the right tools on hand! First of all, a soft measuring tape is your main tool, which is flexible enough to wrap around various parts of your body for accurate measurements. In addition, I would also recommend that you have a notebook and pen so that you can record your measurements before you forget them. It will also be easier to get a friend to help you so that you can also make sure that the measuring tape is in the right place.
Preparation for the measurement process
When taking measurements, it is helpful to be aware of your stance and natural means of breathing and try to keep your feet in a balanced position to improve the accuracy of your measurements. I have found that sometimes tension leads to uneven breathing, which affects the accuracy of the data. So staying relaxed is key.
III. Specific Steps for Shirt Measurement
Preliminary Measurement Guidelines
Chest measurement
First, let's take the bust measurement. Place the measuring tape around the fullest part of your chest, making sure the tape is parallel to the ground. Be careful not to pull it too tight; the measuring tape should remain moderately comfortable. I always remind myself to do this whenever I measure my bust, as too tight can lead to wrong results.
Waist measurement
Next up is the waist measurement, which is usually the thinnest part of the figure. When finding your natural waistline, make sure you don't compress your abdomen when measuring, but rather maintain a natural posture so that you can aim for the most comfortable fit.
Hip measurement
The hip measurement is equally important. The measuring tape needs to be wrapped around the fullest part of your hips and make sure it is level. With that said, you may be asking how the hip to waist ratio fits. I would recommend choosing a shirt with a little more hip than waist circumference, as this will add to the overall look.
Shirt length and sleeve length measurement
Shoulder Width Measurement
Shoulder width measurement can be done like this: measure the total width of the back from the edge of one shoulder to the other. This figure is very important for choosing the right shirt design.
Shirt length
Deciding on the length of your shirt also requires measurements. Starting at the shoulder, measure to where you want the shirt to end, usually above the hips is the more typical choice.
Sleeve Length Measurement
The last item is the sleeve length measurement. If your design calls for it, measure from the shoulder edge to the end of the sleeve. Sometimes I like long-sleeved shirts, so I'll measure to allow for a certain amount of leeway so that I'm not as likely to be restricted in my wear.
Tips to improve accuracy
Maintain a natural posture: Your posture has a direct impact on your measurements, so try to breathe as comfortably and naturally as possible while standing with your feet naturally apart.
Repeat measurements: The old adage “measure once, measure twice” is very true. To ensure accuracy, double-check each measurement.
Wearing appropriate clothing: It is best to wear close-fitting clothing for measurement, or directly wearing the plan with the underwear, so that you can get the most accurate data.
IV. Tips and Frequently Asked Questions for Customized Fit
Adjust the size to fit different styles
Understanding the basis of measurement for shirts actually provides you with unlimited options for personalization. Whether you favor a slimmer cut or a casual relaxed look, accurate measurements are the blueprint for your design. In this regard, I was struck by an experience where a friend managed to choose the perfect design for her body shape by adjusting her shirt measurements, which allowed her to attend a party with confidence.
FAQ
How do I adjust the size of a loose-fitting shirt?
For loose-fitting designs, you can add 1-2 inches to your bust, waist and hip measurements, which will allow you to adjust the looseness and tightness to your personal preference for a more comfortable fit.
Is it possible to measure the right shirt instead of taking direct body measurements?
Yes, it is possible! By measuring a proper fitting shirt, record data such as bust, waist, and hip circumference, and then apply it to a new design, just be careful not to stretch or twist the measured shirt.
How do I handle mismatches on the size chart?
If your measurements don't match the size chart, it is recommended to consider the stretch and fit of the fabric. For example, for shirts with looser fabrics, you may choose a smaller size; conversely, a tighter design is recommended to choose a larger size; or you may consider custom tailoring to ensure a perfect fit.
How often do I need to be re-measured?
It is usually recommended to take measurements every 6 to 12 months, especially if you notice significant changes in your body shape, remember to remeasure promptly to ensure that your measurements are always accurate.
How do I convert measurements from inches to centimeters?
Converting inches to centimeters is as simple as multiplying your inches by 2.54. For example, if your bust is 36 inches, the calculation would be as follows: 36 * 2.54 = 91.44 centimeters. Most measuring tapes have both inches and centimeters marked on them for easy record keeping.
Conclusion - How to Measure a Shirt
Accurate measurements provide the foundation for you to create a perfectly fitted shirt. Whether you're shopping for a designer collection or customizing a personalized piece, with the right measurements, you no longer need to worry about sizing, allowing each piece of apparel to perfectly showcase your style and temperament. Start measuring today to give your closet a new glamorous look and be ready for the next exciting occasion!